
Now Reading: How to Set Up a New Laptop: A Step-by-Step Guide for Beginners
1
-
01
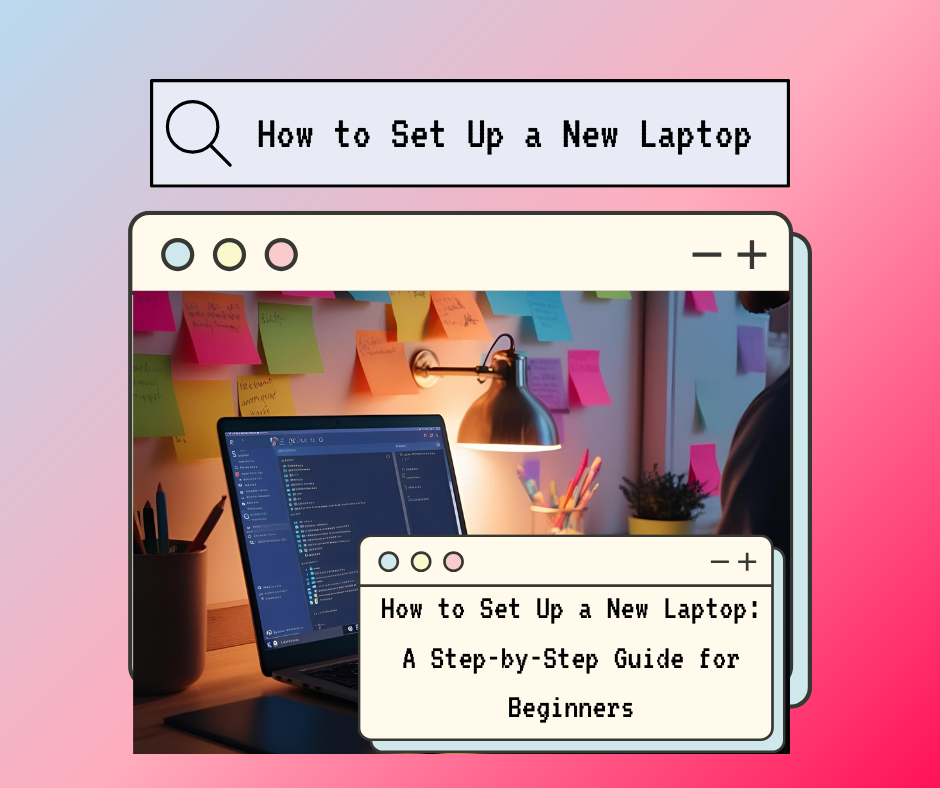
How to Set Up a New Laptop: A Step-by-Step Guide for Beginners

How to Set Up a New Laptop
Setting up a new laptop can be an exciting experience, especially if you’re a beginner. Here’s a step-by-step guide to help you get started:
Step 1: Unbox and Inspect Your Laptop
- Carefully unbox your laptop and remove all packaging materials.
- Check for accessories like the charger, user manual, and any additional cables.
- Inspect the laptop for any physical damage. If you notice anything, contact the seller or manufacturer immediately.
Step 2: Charge Your Laptop
- Plug in the charger and connect it to your laptop.
- Allow the laptop to charge fully before turning it on. This ensures the battery is properly calibrated.
Step 3: Power On Your Laptop
- Press the power button (usually located near the keyboard or on the side of the laptop).
- Wait for the laptop to boot up. This may take a few minutes.
Step 4: Follow the On-Screen Setup Wizard
- Select your language, region, and keyboard layout.
- Connect to a Wi-Fi network by selecting your network and entering the password.
- Sign in with your Microsoft account (for Windows) or Apple ID (for Mac). If you don’t have one, you can create a new account.
- Set up a username and password for your laptop.
Step 5: Update Your Operating System
- Once the initial setup is complete, check for system updates.
- Windows: Go to Settings > Update & Security > Windows Update and click “Check for updates.”
- Mac: Go to System Preferences > Software Update.
- Install any available updates to ensure your laptop has the latest features and security patches.
Step 6: Install Essential Software
- Install a web browser (if not pre-installed), such as Google Chrome, Mozilla Firefox, or Microsoft Edge.
- Install antivirus software to protect your laptop from malware.
- Download and install any other software you need, such as Microsoft Office, Zoom, or media players.
Step 7: Customize Your Settings
- Adjust display settings like brightness, resolution, and night mode.
- Set up your preferred privacy settings (e.g., location, camera, and microphone access).
- Personalize your desktop background, theme, and taskbar/dock preferences.
Step 8: Transfer Files (If Needed)
- If you’re moving files from an old device, use a USB drive, external hard drive, or cloud storage (e.g., Google Drive, OneDrive).
- Alternatively, use a data transfer cable or Wi-Fi transfer tools.
Step 9: Set Up Backup and Security
- Enable automatic backups to protect your data.
- Windows: Use File History or OneDrive.
- Mac: Use Time Machine or iCloud.
- Set up a strong password or PIN for your user account.
- Enable biometric authentication (e.g., fingerprint or facial recognition) if your laptop supports it.
Step 10: Explore and Enjoy
- Familiarize yourself with your laptop’s features and installed apps.
- Install any additional apps or games you want.
- Start using your laptop for work, entertainment, or browsing!
Tips for Beginners
- Keep your laptop clean and avoid eating or drinking near it.
- Regularly update your software to ensure optimal performance and security.
- Use a laptop sleeve or case to protect it when traveling.


Related Posts

Previous Post
Next Post
Previous Post

Next Post
Donations


Categories


Advertisement


Leo
Thanks